Raspberry Pi Door Opener Redux

Here is an outside view of the door. All that is visible is the card reader.
The code I’ve written for this project is available here.
New Room, New Door Opener
When the Computer Club moved rooms, I wanted to improve the software that I had written for the door opener. It also turned out that the existing door opener was not able to open the new door. The old handle was very easy to turn, but the new one was more rigid, so I had to build an opener that had more torque.
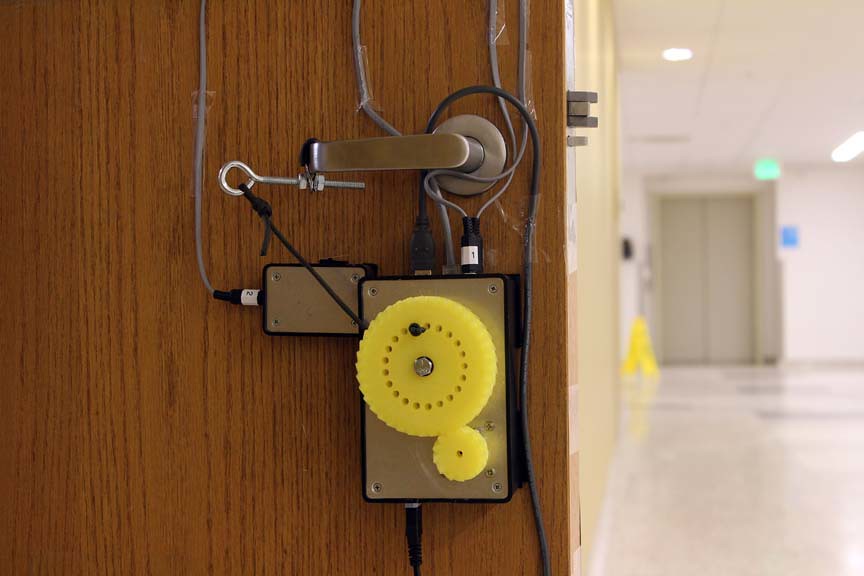
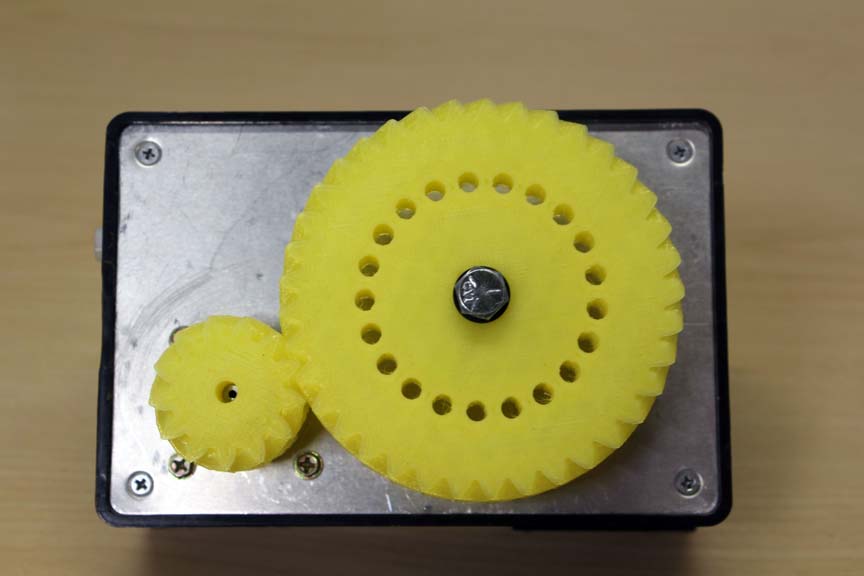
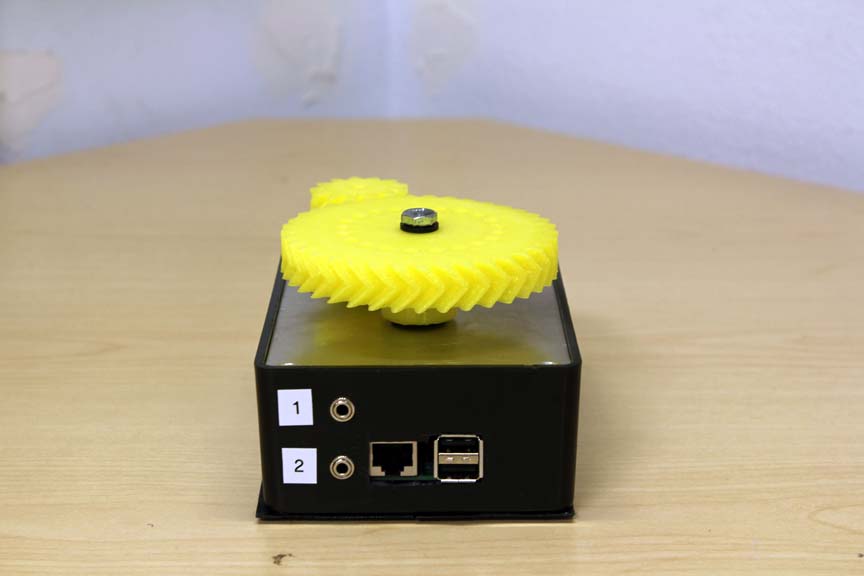
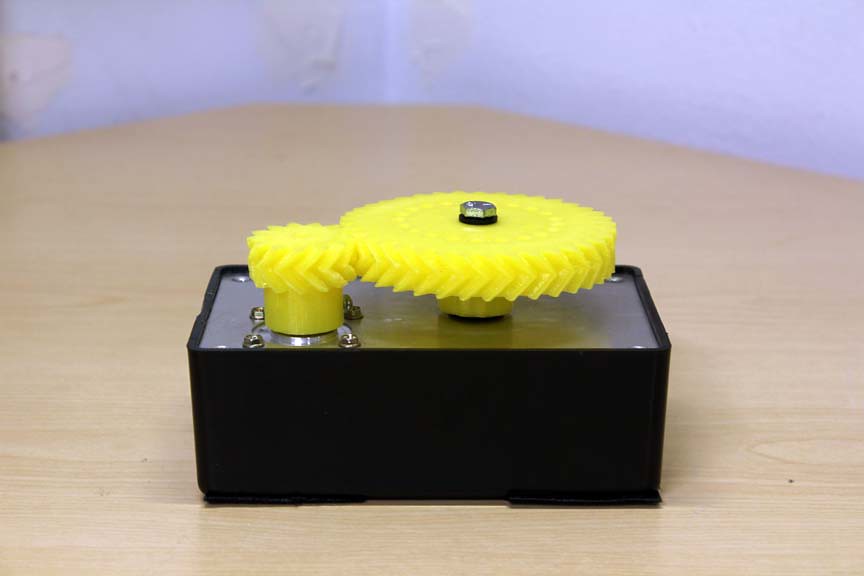 I accomplished this using a NEMA 17 stepper motor, and gears printed on the Computer Club’s RepRap 3D printer. The smaller gear is mounted using a captive nut to the stepper motor’s axle, and it turns the larger gear. String wraps around the shaft of the larger gear, between it and the body of the lid.
 Here is the wiring for the project. I am using the Easy Driver stepper motor driver from SparkFun. All you need to do is connect your stepper motor’s coils correctly, provide 12 volts, and then pulse the step and direction pins to control your stepper.
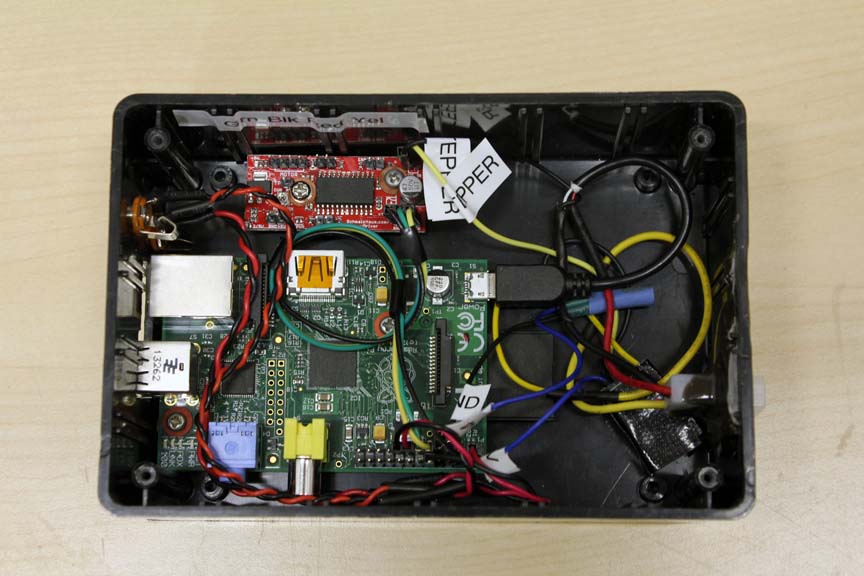
I am using a 5 volt relay, (triggered using an NPN transistor, connected to a GPIO pin and the Raspberry Pi’s 5 volt output) to turn off power to the Easy Driver board when the stepper is not in use. Stepper motors use a considerable amount of current while idle, and they can get pretty hot.
 The power supply has a standard Molex power connector. I used JB weld to secure the male side of a Molex cable to the project box. The 5 volt connection is wired to a micro USB cable, and the 12 volts is wired through the relay as I described.
 Since stepper motors have no context for what step the axle is in, I needed a way to know when the handle is actually open. I used a small limit switch in another project box for this purpose. When the handle is completely pulled, the limit switch is pressed, and the stepper motor will stop turning. This way, if the gearing is bumped, the stepper motor will continue to turn until the door is open.
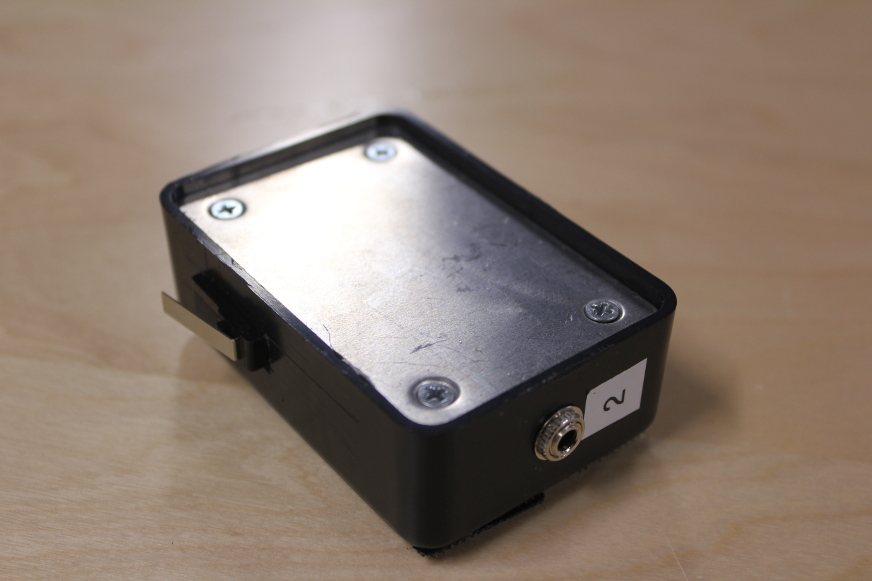
 One of the mono jacks is used to connect the limit switch, and the other is used to connect to the magnetic contact switch that reads whether the door is open or not.
Basic Parts List
- medium size project box (from Radio Shack)
- Raspberry Pi Model B
- USB Magnetic Card Reader
- Easy Driver from SparkFun
- NEMA 17 Stepper Motor, prefer one with a machine flat on the axle.
- Molex Power Supply
- Door Knob Extender or a P clamp with an eye hook bolt
- Magnetic Contact Switch
- 5 volt relay
- NPN transistor (since the Raspberry Pi logic level is 3.3 volts)
New Software
The existing Python scripts stored card track hashes in a CSV file, and used SSH to send the state of the door (open or closed) for our IRC bot. Registering new cards required SSHing to the Raspberry Pi and stopping the persistent Python script, running another Python script. These Python scripts also required root privileges, due to the GPIO being restricted on the Raspberry Pi.
The new system uses a Node.js server that runs on our IRC server. It provides a REST interface for the Raspberry Pi to authenticate users, and it uses a self generated SSL certificate authority to sign a client certificate, to validate the identity of the Raspberry Pi, and to protect the card track hashes in transit.
The card tracks, along with the state of the door (open or closed) is stored in a SQLite database. I used squel to generate the SQL strings, and validator to escape and validate input.
The Node.js server also provides a web interface for viewing card swipe logs, registering users, and de-registering users. This is built using Express with Jade templating. The login and session handling is done using Passport.js, using its local strategy, and the SQLite database for storing the user password salts and hashes.
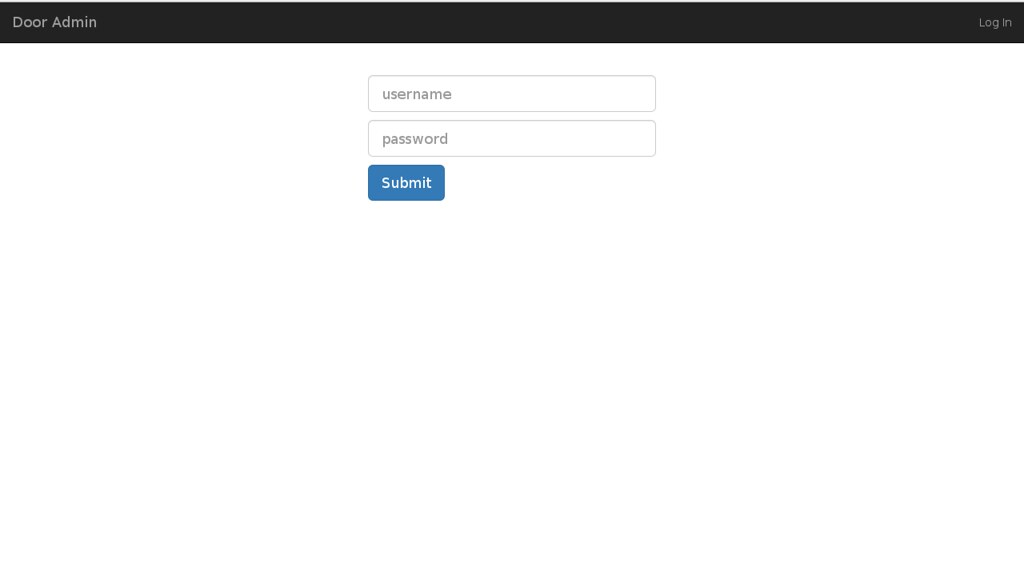
Here is what you see when you get to the web app.
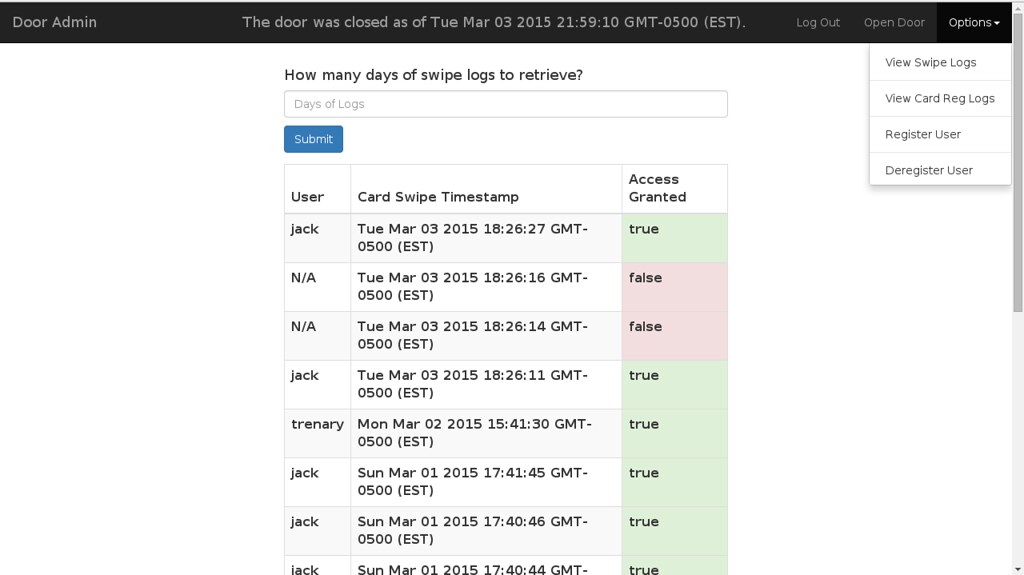
Here is the default view in the web app. You see the door opening logs (which include all unsuccessful attempts). By default, a user sees the last week of logs, and they can opt to see more by entering the number of days in the box.
I used Jade’s templating engine to build the tables in the app, so when I render the view with Express, all I have to do is build an array with the data I need from the SQLite database, and then I can build the table in Jade:
file: door-server/views/swipe-logs.jade
---------------------------------------


table.table.table-striped.table-bordered.table-hover
  thead
    tr
      th User
      th Card Swipe Timestamp
      th Access Granted
  for row in data
    tr
      th= row[0]
      th= row[1]
      if row[2] == "true"
        th.success= row[2]
      else
        th.danger= row[2]
If the swipe was successful, then I apply the Bootstrap success class, and if not I apply the Bootstrap danger class to give the colors.
I couldn’t find a satisfactory way to use the stepper motor from Node.js. The pi-gpio library works with Quick2Wire’s gpio-admin utility, and that is what is used for reading the door state. The disadvantage of the pi-gpio library is that opening the GPIO pins and writing to them require passing a callback for each action. By the time I opened all four needed pins, I was four callbacks deep.
I tried using the async waterfall pattern, but once I got the stepper motor moving, it was very slow. I decided instead to write a small C program that only opens the door, and nothing else. Since it compiles to a binary, I can set a root setuid bit on it, and that way the Node.js program can run non-privileged.
I used the wiringPi library for the C program. It gives you the same digitalWrite(), digitalRead(), and delay() functions you are used to if you’ve ever used the Arduino IDE.